

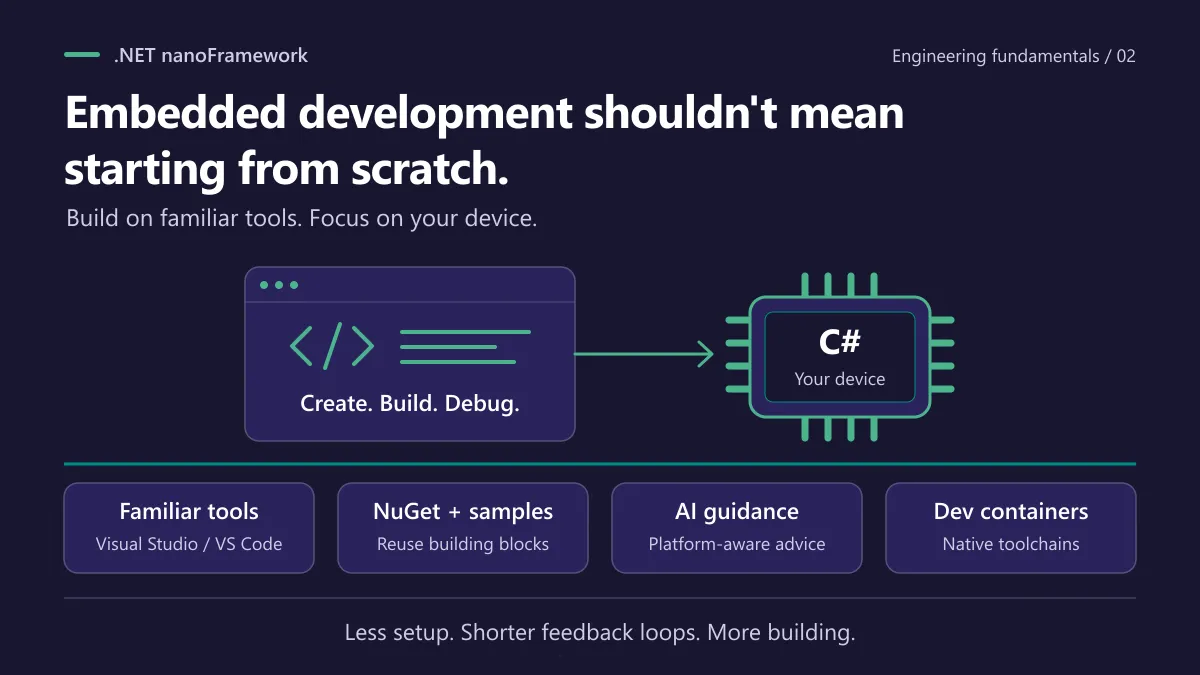
In part one, Small devices, serious engineering, we looked at code quality. This time, we’re exploring the developer experience that helps you put those engineering fundamentals into practice.
Blinking an LED should be the start of your project. Not the prize for surviving three days of toolchain setup. 😉
Developer experience is much more than a smooth first demo, though. It decides how fast you can chase down a bug, how quickly a new teammate gets productive, and whether you can rebuild that project after six months away. In .NET nanoFramework, it’s treated as part of the platform. Almost a mantra, really.
Familiar tools, fewer surprises
The Visual Studio getting-started guide walks you through an extension-based workflow: create, build, deploy and debug managed code on supported devices.
If you’re a .NET developer, your habits still work. Projects, NuGet packages, breakpoints, stepping through code. You don’t have to unlearn anything just because the application now runs on a microcontroller.
Don’t expect full desktop .NET, of course. nanoFramework has its own API surface and real resource limits. The goal is to close the tooling gap, not to pretend the hardware isn’t there.
Picture a sensor that returns a weird value once in a while. Inspecting the state and following the execution is a very different experience from sprinkling print statements everywhere and hoping the bug shows up again. 🐛
Not just one editor
The VS Code getting-started guide covers Windows, Linux and macOS, with the prerequisites for each. The VS Code extension documents project creation, flashing, building, deployment, debugging and test integration. It has come a long way from its early experimental days.
Still, the editors aren’t identical. Debugger behavior, host prerequisites and supported versions differ, so check the docs for your setup. What counts is that you get documented paths, not a mystery pile of scripts.
Then there’s nanoff, the command-line firmware flasher. It works outside any particular editor, so you can drop it into your own scripts and pipelines. Flashing becomes a repeatable operation instead of a ritual.
v1 today, v2 preview tomorrow (with generics!) 🚀
Here’s a nice one. The VS Code extension handles both the current stable version of nanoFramework, v1, and the Preview v2. Why care? Because v2 brings generics, something v1 has never had. If you’ve ever missed List<T> or wanted to write one reusable, type-safe class instead of casting everywhere, that’s your moment. The generics preview page explains the feature and how to try it.
In the extension, you choose between a stable and a Preview project when you create one. Already have a v1 project? Right-click the .nfproj file and pick nanoFramework: Switch Project Between v1 and Preview v2. The extension README says it updates the references and package files together, and restores the changed files if the migration can’t complete. No hand-editing project files at midnight.
A few things to keep in mind, because it’s a preview:
- Preview projects need preview v2 firmware on the device.
nanoffcan flash it with the--previewoption, as the generics page shows. - Stable and Preview libraries can’t be mixed in the same project or solution.
- Expect rough edges. The generics page itself calls this a public preview, so test on your own hardware before betting a product on it.
Two versions side by side, with a supported way to move between them, is what lets you try new features without breaking what already works. 🙂
Your AI assistant gets a cheat sheet 🤖
AI coding assistants are great, until they happily suggest a desktop .NET API that doesn’t exist on your microcontroller. It compiles in the model’s imagination. It does not compile on your ESP32.
The VS Code extension includes a .NET nanoFramework Agent for GitHub Copilot Chat. Install the extension, pick the agent in the Chat dropdown, and per the extension README you get nanoFramework-specific guidance without adding any agent file to your workspace.
What’s inside is the agent definition itself, and it’s pretty down to earth:
- Check that an API really exists in the API browser before using it, and propose an alternative when it doesn’t.
- Reuse the samples and existing device bindings instead of reinventing low-level code.
- Think embedded: small allocations, explicit timeouts and retries, simple code.
- Build with the same
nuget restoreplusmsbuildflow as the extension, and use the nanoFramework test platform instead of a defaultdotnet test. - State assumptions, and say what still needs checking on real hardware.
Think of it as the onboarding notes you’d give a new teammate, written once and handed to your AI. It’s aimed at Copilot Chat, but you don’t have to stay there.
Take it, copy it, make it yours ✂️
Here’s the part I like best. The same instructions are checked in, in the open, in the samples repository, as .github/agents/nanoframework.agent.md. It’s a plain Markdown file with a short header and a list of rules. No magic, no binary blob.
So you can:
- Copy it into your own project so anyone opening the repository gets the same guidance.
- Trim or extend it with your own rules: your board, your naming conventions, your pinned library versions, your review checklist.
- Adapt it for another assistant. Most AI tools can read project instructions, and the content is just good embedded-C# advice. Rename it, reformat it, or paste it into whatever your tool expects.
Note that this is an agent file, not a skill package: the guidance is the same idea, so converting it into whichever format your assistant uses is mostly copy and tweak. Start from what the nanoFramework team already learned instead of a blank page.
It raises the odds of getting code that fits the platform, and it doesn’t replace the build, the tests or a run on the real device. AI-generated code still deserves a review. 😉 One more detail: the agent’s guidance is written for v1 and states that generics aren’t supported, so with a Preview v2 project, remember to tell your assistant what’s different.
Native developers get love too 🐳
Everything above is about writing C# applications. If that’s you, you don’t need this section: you flash a ready-made firmware and get coding.
But some people work on the native side: the CLR, the drivers, a new board, their own native code. And that’s a different world. Every hardware platform has its own toolchain, its own SDK and its own version requirements. ESP32 has one. STM32 and ChibiOS have another. TI, NXP, Eclipse ThreadX, Raspberry Pi Pico, same story. Installing them on your host machine is a pain, and installing several side by side is worse. Some are not fully compatible with each other, or with whatever else lives on your computer. Ask anyone who has spent an afternoon fighting a PATH variable. 😩
That’s what the dev containers in the interpreter repository are for. Each one packages the toolchain for a platform, so you open the repository in VS Code, pick the container and build firmware without installing the toolchain on your machine. The dev container README lists the options:
- Prebuilt images published to the GitHub container registry for ChibiOS, ESP32, TI SimpleLink, NXP FreeRTOS and Eclipse ThreadX targets.
- An image for Raspberry Pi Pico (RP2040/RP2350) targets, built from source.
- An “all” image with almost every toolchain, which the README warns is very large. If you only target one platform, pick the platform-specific image.
- Dockerfiles to build any of them from source, if you’d rather not use the prebuilt images or want to tweak them.
The environment is described right next to the source code, versioned with it, and the same for everyone on the team. “Works on my machine” gets harder to say, which is rather the point. As mentioned in the CI/CD post, a smoke-test workflow also builds selected targets when the container definitions change.
Containers won’t remove your need for real hardware, and you’ll still want Docker/Podman on your machine. And as with any tooling, check the README if something misbehaves: it documents known quirks, like how to fix a stale container. But “start here” beats “good luck, ask around” every single time.
Why it matters
On many embedded stacks, you assemble the editor, the flasher, the debugger and the build conventions yourself. Every missing link becomes your problem.
nanoFramework invests in those links. Shorter feedback loops make bugs easier to find and contributions easier to make.
Good developer experience means spending less time operating your tools and more time understanding your device.
© Laurent Ellerbach. This post is licensed underCC BY-ND 4.0: you may share it unchanged, with credit and a link back. To adapt or translate it, ask the author first.
Comments
Comments are powered by GitHub Discussions. Sign in with GitHub to join in. By commenting, you agree to publish your comment under CC BY 4.0.